A Clear Step-by-Step Look at the Process From Start to Finish
A siding repair project usually starts with an inspection, followed by removing damaged panels, fixing any hidden issues, and installing new materials that match your home. The goal is to protect your exterior from water and weather while keeping it looking neat. Most projects are completed in a day or two, depending on the size of the area and the condition underneath.
What you need before the work begins
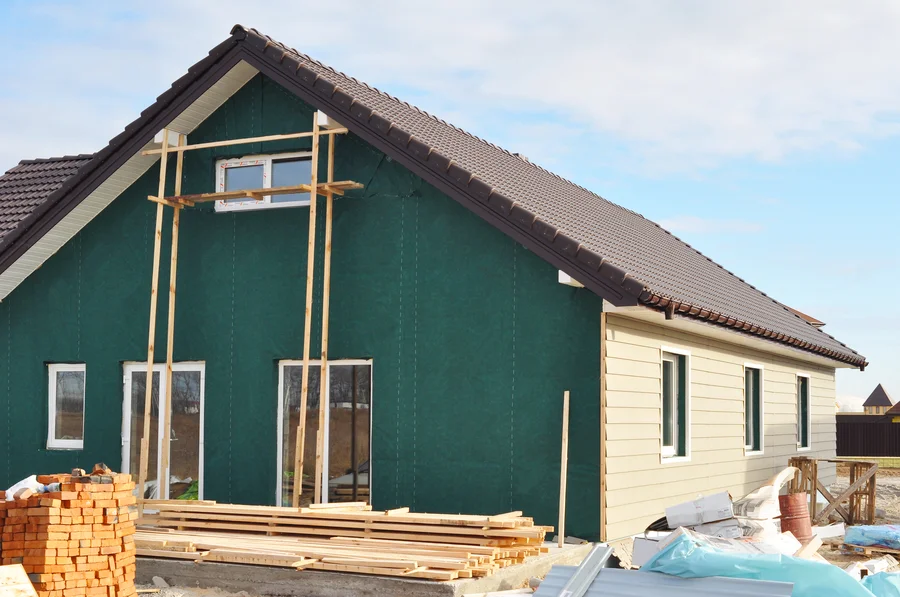
Before siding repair starts, a few basic things should happen. First, the damaged areas must be checked closely. This helps spot rot, mold, or water behind the panels. Next, materials should be chosen. The new siding needs to match the color and style of your home.
It also helps to clear the area around your house. Move patio furniture, grills, and potted plants away from the walls. Trim back bushes that block access. This gives workers room to move safely and work faster.
Step-by-step process of siding repair
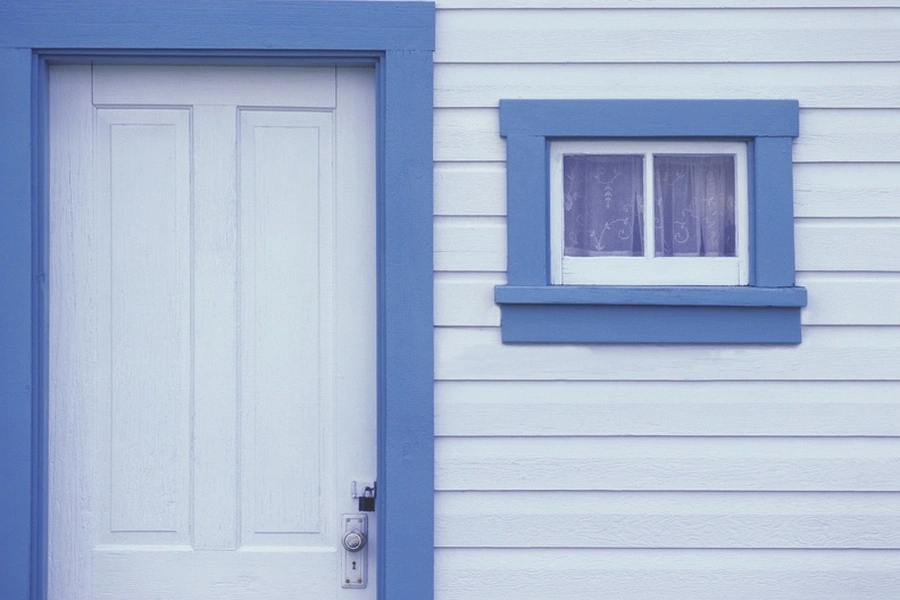
While each home is different, most siding repair projects follow a simple path.
- Inspection and estimate: The damaged section is examined. Measurements are taken, and a plan is made.
- Preparation: The work area is set up. Old caulk may be cut away, and surrounding panels are loosened.
- Removal of damaged siding: Cracked, warped, or broken pieces are carefully removed.
- Check underneath: The sheathing and wall structure are inspected for rot or moisture damage.
- Repairs to the base: Any soft wood or damaged wrap is replaced to create a solid base.
- Install new siding: The new panels are cut to size and attached securely.
- Sealing and finishing: Joints are caulked, edges are sealed, and the area is cleaned up.
This process keeps water out and restores your home’s protection. If the damage is small, the job can move quickly. Larger areas may take more time.
Common mistakes to avoid
Some homeowners try to handle siding repair on their own. Small cracks may look easy to fix, but simple errors can lead to bigger issues.
- Not checking for hidden water damage behind panels
- Using the wrong nails or fasteners
- Failing to leave room for material expansion
- Skipping proper sealing around windows and doors
- Mismatching colors or styles
Siding expands and contracts with weather changes. If it is nailed too tightly, it can warp. If it is not aligned properly, gaps may form. These gaps allow moisture to enter the wall.
How long siding repair usually takes
Time depends on the size of the problem. Replacing one or two panels might take only a few hours. Fixing large sections after a storm may take a few days.
Weather also plays a role. Rain or high winds can delay exterior work. A good plan includes checking the forecast and scheduling during clear conditions.
When to call a professional
It is wise to call a professional when you see signs like soft spots, mold growth, loose boards high on the wall, or damage after heavy wind or hail. These issues often go deeper than they appear.
A trained crew can safely remove panels without causing more damage. They can also match materials and spot structural problems early. This saves time and helps avoid repeat repairs later.
If your siding is older and has multiple trouble spots, a full inspection may show whether repair or partial replacement makes more sense. A professional opinion can help you choose the right path.
Final recommendation and next steps
If you notice cracks, warping, or loose panels on your home in Chatham, NJ, it is smart to act quickly before water damage spreads. At MT Chatham Roofing and Siding, we handle siding repair projects of all sizes and keep the process simple and clear for homeowners. We explain each step and answer your questions so you know what is happening. If you would like an inspection or want to discuss your options, call us at (862) 267-7322 and our team will be ready to help.